
So over the past few weeks I have been thinking about how I wanted to approach the fuel filler for the Catfish. Remember I am going for a cross between modern sports car and nostalgic old Italian racer. I had ordered a flip-top fuel filler a while back and was going to simply bolt it to the center rear deck lid or build up the underside of the deck lid and pass it through the hole. That way I can screw it down from underneath and you would not see the screws. It hit me about a week ago that bolting the filler directly on to the deck lid from the top or the bottom would probably not work out the way I envisioned and also added the issue of having to remove the filler hose if I needed to remove the deck lid at the track for repairs or the like. I knew that some of the 50’s and 60’s race cars had bodywork that had a cut out for a filler that was bolted to the frame or fuel cell and this allowed the panels to be removed without issue. The picture below is what I found and wanted to engineer.

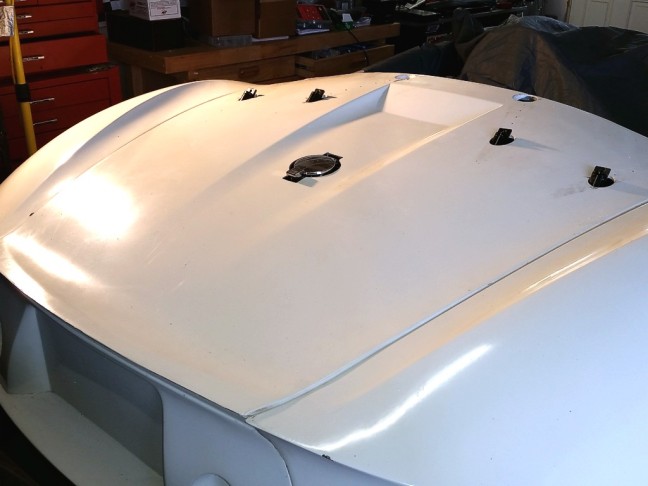
The first thing I would need is to figure out how the filler was to be supported and where I could accomplish this. After a lot of measuring and checking the fit of the rear deck lid I decided to use the roll bar cross member above the rear of the fuel tank for the job. I knew I would need a solid piece of aluminum to make the mount and it would have to be braced at the sides to handle lateral movement during hard cornering. I also realized that the filler would need to be able to catch spillage and bleed off rain water that would enter through the pass though for the filler cap. I happened, by chance, to find the perfect piece of aluminum sitting in my basement. It was part of an old water treatment system bracket and just happened to be almost 100% to the shape and size I needed to build the mount. It took a good three hours of more measuring, drilling and tapping before I had it in place with the filler hanging through the hole in the top. Next I would need the hole to allow the filler to pass through the body work. From underneath the Catfish I drilled a very small 1/8 inch exploratory hole up through the mount hole into the bottom of the rear deck lid to mark the spot I would have to use the hole saw to cut the main hole for the flip-top.Again, more measuring and making sure the hole would be exactly in the middle of the rear deck lid and directly over my new filler mount. A few minutes with a hole saw and cuts with a Dremel tool and the basic work was complete.


At this point I still had some energy left and started searching around the house for anything I could use as a splash pan for under the filler. My wife started to look at me funny as I pulled out the old stainless and aluminum cake pans from the cup-boards. I couldn’t find anything close to what I needed. I went back in the garage and just as I passed my work bench I spotted my old stainless magnetic bowl I bought from Craftsmen 20 years ago. The magnet was no longer attached to the bowl, but everything was in good shape. It was a perfect fit! It was the exact height and shape I needed. Some more quick work with a hole saw and a drill and it was in. It was at this point I decided that while I was on a roll I would keep pressing on. I grabbed one of my old stainless fuel pipes I had lying around and in an hour I had two very strong side supports for each side of the filler mounting. I was very happy with the result. I still need to fuel and water proof the bowl area and will probably just use some type of sealer. I will also order some bulb type rubber molding for the edges of the bowl to seal it to the underside of the deck lid. I am still looking into the fueler hose which will have to make a few turns to get to the tank and a vent line which I will need to make provision for in the filler pipe under the flip-top. All in all a good way to spend a Saturday.
It turned out fantastic and now has that nostalgic look I wanted. Sure its a pain to fuel, but its all worth it!
More parts coming this week and I will be starting the interior very soon!
